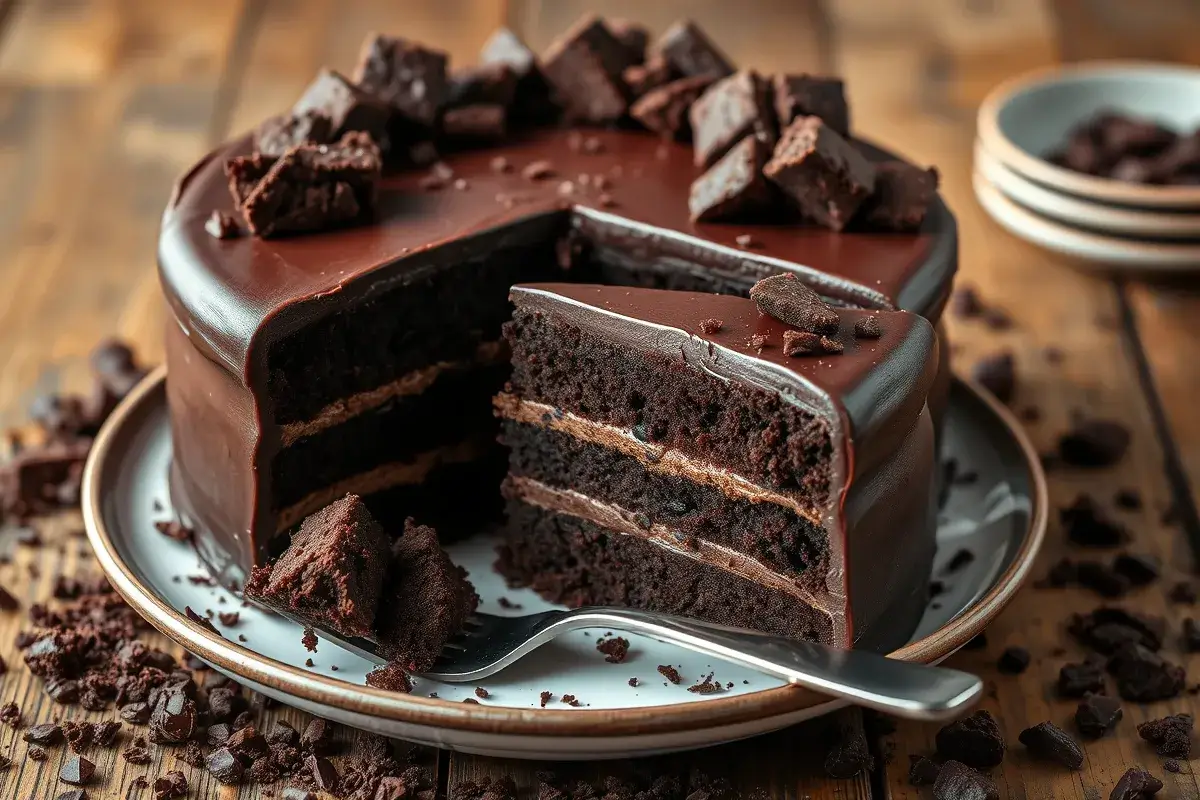
Are you ready to indulge in a dessert so rich and chocolaty that it will leave you craving more? Look no further than the Blackout Cake, a decadent masterpiece that’s every chocolate lover’s dream. Known for its moist layers, creamy chocolate pudding filling, and signature chocolate crumb coating, this cake is a showstopper at any gathering.
Originally created in Brooklyn during World War II, the blackout cake became famous for its intense chocolate flavor and irresistibly fudgy texture. But what exactly makes a blackout cake so special, and how can you recreate this iconic dessert at home?
In this post, we’ll uncover the secrets to baking the perfect blackout cake, sharing a step-by-step guide, essential tips, and common mistakes to avoid. Whether you’re a seasoned baker or a beginner, this recipe will ensure your cake is rich, moist, and unforgettable. Let’s dive into the world of chocolate bliss and create a blackout cake you’ll love!
What Makes a Blackout Cake So Special?
The Blackout Cake isn’t just another chocolate dessert; it’s a rich and indulgent treat with a story as compelling as its flavor. This cake stands out because of its unique combination of taste, texture, and historical significance, making it a favorite for chocolate enthusiasts worldwide. Let’s explore the elements that set this iconic cake apart.
Origins of the Blackout Cake
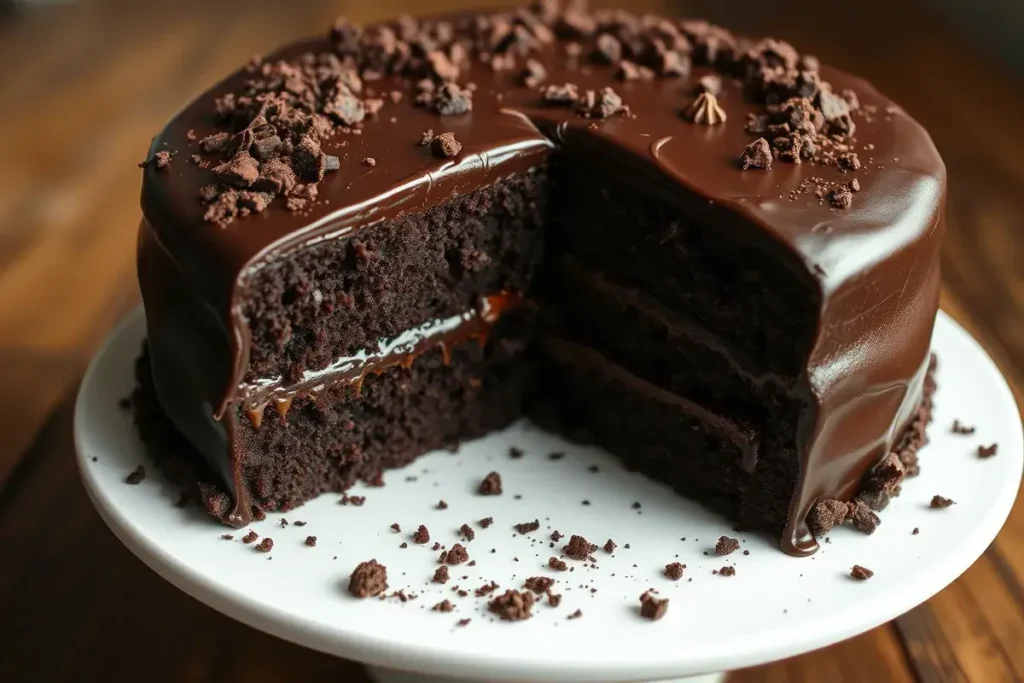
The Blackout Cake has its roots in Brooklyn, New York, during World War II. It was first created by the famous Ebinger’s Bakery, which was known for its decadent baked goods. The cake earned its name due to the wartime practice of “blackouts,” where city lights were dimmed to prevent enemy attacks. Ebinger’s Blackout Cake became a household favorite, symbolizing comfort and indulgence during a challenging time.
This nostalgic connection to history makes the Blackout Cake more than just a dessert—it’s a piece of American culinary heritage. Even decades later, its legacy lives on, with home bakers and chefs trying to recreate the magic of this legendary cake.
Key Features of a Perfect Blackout Cake
What truly sets the Blackout Cake apart is its unparalleled combination of textures and flavors:
- Fudgy, Moist Layers: The cake itself is made with a generous amount of cocoa powder and sometimes melted chocolate, resulting in rich, dark, and moist cake layers. Each bite delivers an explosion of chocolatey goodness.
- Creamy Chocolate Pudding Filling: Unlike traditional layer cakes, the Blackout Cake is filled with a luscious chocolate pudding. This creamy layer adds depth and contrasts beautifully with the dense cake layers, creating a melt-in-your-mouth experience.
- Signature Chocolate Crumb Coating: Another unique feature is the cake’s crumb coating. The top and sides are adorned with finely crumbled pieces of cake, giving it a rustic yet elegant appearance. These crumbs not only enhance the visual appeal but also add an extra layer of texture.
Why It’s a Must-Try Dessert for Chocolate Lovers
For anyone who loves chocolate, the Blackout Cake is the ultimate indulgence. Its layers of intense chocolate flavor make it far superior to ordinary chocolate cakes. The pudding filling ensures every bite is creamy and satisfying, while the crumb coating provides a delightful texture.
This cake is perfect for special occasions, from birthdays to dinner parties, or whenever you’re in the mood for an extravagant chocolate treat. It’s a dessert that commands attention, satisfies cravings, and leaves a lasting impression on anyone who tastes it.
In short, the Blackout Cake is special because it combines the best aspects of chocolate desserts—richness, creaminess, and texture—with a story that adds to its charm. Once you’ve tried it, you’ll understand why this cake has stood the test of time as a beloved classic!
Ingredients You’ll Need for the Perfect Blackout Cake
Creating the perfect blackout cake requires a combination of high-quality ingredients and precise measurements. Each component plays a vital role in achieving the rich, moist texture and deep chocolate flavor that make this cake irresistible. Let’s break down the essential ingredients you’ll need and why they matter:
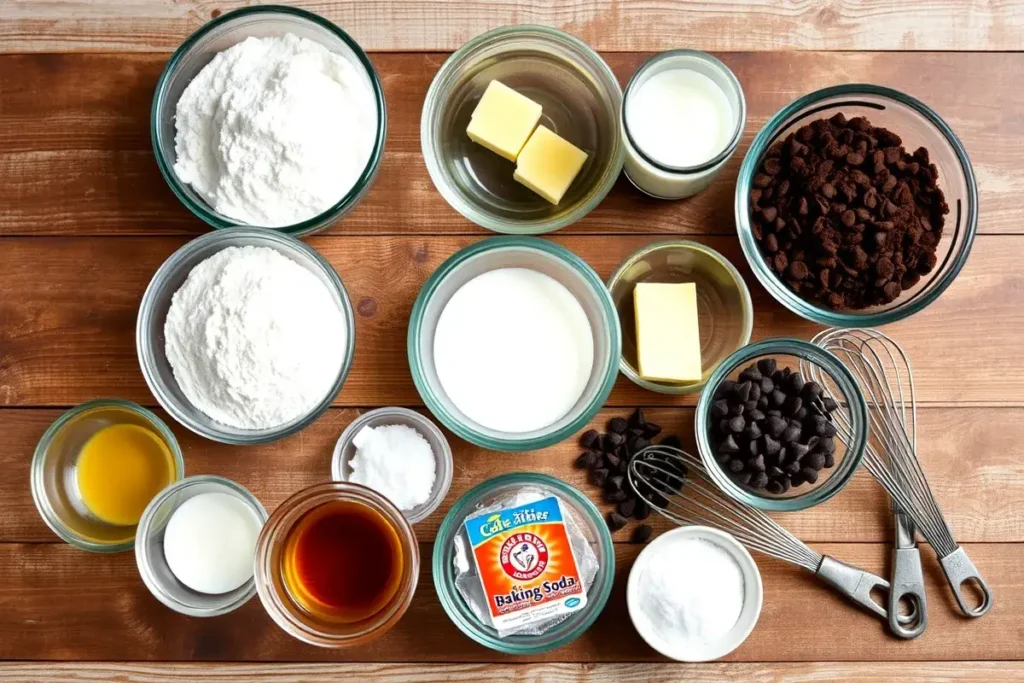
The Foundation: Dry Ingredients
- All-Purpose Flour (1 3/4 cups)
- Provides structure and stability to the cake. Opt for unbleached flour for a more natural flavor.
- Unsweetened Cocoa Powder (3/4 cup)
- For an intense chocolate flavor, use high-quality Dutch-process cocoa powder. It’s less acidic and gives the cake a darker color and smoother taste.
- Granulated Sugar (2 cups)
- Adds sweetness and helps retain moisture, ensuring a soft and tender crumb.
- Baking Powder (1 1/2 teaspoons) & Baking Soda (1 1/2 teaspoons)
- These leavening agents work together to create a light and fluffy texture while balancing the acidity from the cocoa powder and buttermilk.
- Salt (1 teaspoon)
- Enhances the chocolate flavor and balances the sweetness.
The Moisture Makers: Wet Ingredients
- Buttermilk (1 cup)
- Adds tanginess and keeps the cake moist while tenderizing the crumb. If you don’t have buttermilk, you can make a substitute by mixing 1 cup of milk with 1 tablespoon of lemon juice or white vinegar.
- Vegetable Oil (1/2 cup)
- Keeps the cake moist and adds a subtle richness without overpowering the chocolate flavor.
- Eggs (2 large)
- Provide structure and bind the ingredients together. Make sure they’re at room temperature for easier mixing.
- Vanilla Extract (2 teaspoons)
- Enhances the overall flavor and adds a hint of warmth to the chocolate.
- Hot Coffee (1 cup)
- Intensifies the chocolate flavor and creates a moist, tender cake. Don’t worry; the cake won’t taste like coffee—it simply amplifies the cocoa’s richness.
The Star Filling: Chocolate Pudding
- Whole Milk (2 cups)
- The base for a creamy and smooth pudding.
- Granulated Sugar (1/2 cup)
- Sweetens the pudding without overpowering the chocolate.
- Cornstarch (3 tablespoons)
- Acts as a thickening agent to achieve the perfect pudding consistency.
- Egg Yolks (4 large)
- Add richness and a silky texture to the pudding.
- Unsweetened Chocolate (4 ounces, chopped)
- Provides the deep chocolate flavor essential for a blackout cake.
- Unsalted Butter (2 tablespoons)
- Adds a velvety finish to the pudding.
- Vanilla Extract (1 teaspoon)
- Balances the chocolate’s richness with a touch of sweetness.
The Finishing Touch: Chocolate Crumbs
- All-Purpose Flour (1/2 cup)
- Forms the base of the crumbs for texture and structure.
- Unsweetened Cocoa Powder (1/4 cup)
- Infuses the crumbs with chocolate flavor.
- Granulated Sugar (1/2 cup)
- Adds sweetness and a slight crunch.
- Unsalted Butter (4 tablespoons, melted)
- Helps bind the crumbs together and enhances their richness.
Optional Add-Ins for Extra Flavor
- Espresso Powder (1 teaspoon)
- Boosts the chocolate flavor without adding a coffee taste.
- Sea Salt (a pinch)
- Adds a subtle contrast to the sweetness and enhances the overall flavor profile.
- Dark Chocolate Chips (1/2 cup)
- Fold into the batter for bursts of melted chocolate in every bite.
By gathering these carefully selected ingredients, you’re setting the stage for a blackout cake that’s rich, moist, and utterly delicious. Be sure to measure everything accurately and choose the best-quality ingredients for the ultimate baking success!
Step-by-Step Guide to Making a Blackout Cake
Creating the perfect blackout cake might seem like a challenge, but with the right guidance and attention to detail, you can craft a dessert that’s as beautiful as it is delicious. Follow this step-by-step guide to ensure your cake turns out rich, moist, and full of chocolatey goodness.
1. Preparing the Cake Batter
The foundation of any great cake is a well-made batter. Here’s how to get it right:
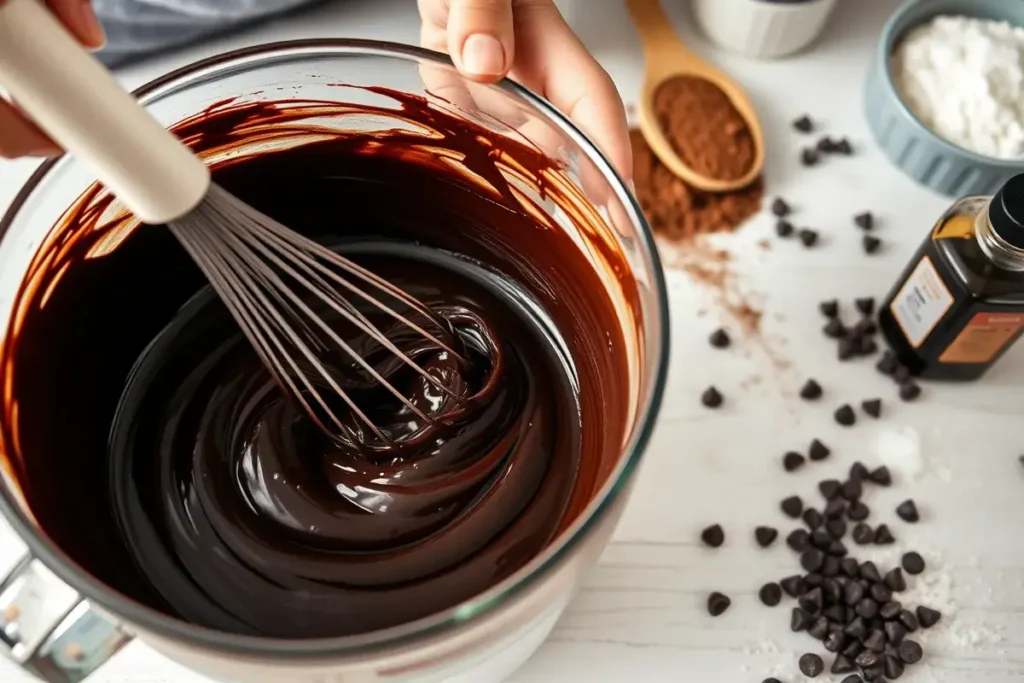
- Gather Your Ingredients: Start by measuring out your cake flour, Dutch-process cocoa powder, sugar, baking soda, baking powder, salt, eggs, butter, and buttermilk. Precision is key in baking, so use a kitchen scale if possible.
- Mix the Dry Ingredients: In a large bowl, sift together the cake flour, cocoa powder, baking soda, baking powder, and salt. This helps create a light and airy texture while avoiding any lumps in the batter.
- Cream Butter and Sugar: Using a stand mixer or hand mixer, cream the softened butter and sugar until light and fluffy. This step is crucial for incorporating air into the batter, which ensures the cake will rise properly.
- Add the Wet Ingredients: Beat in the eggs, one at a time, followed by the buttermilk and vanilla extract. These ingredients add moisture and enhance the cake’s flavor.
- Combine Wet and Dry Mixtures: Gradually fold the dry ingredients into the wet mixture, mixing just until combined. Be careful not to overmix, as this can lead to a dense and tough cake.
2. Baking the Cake Layers
Achieving even, moist layers is essential for a stunning blackout cake. Here’s how to bake them to perfection:
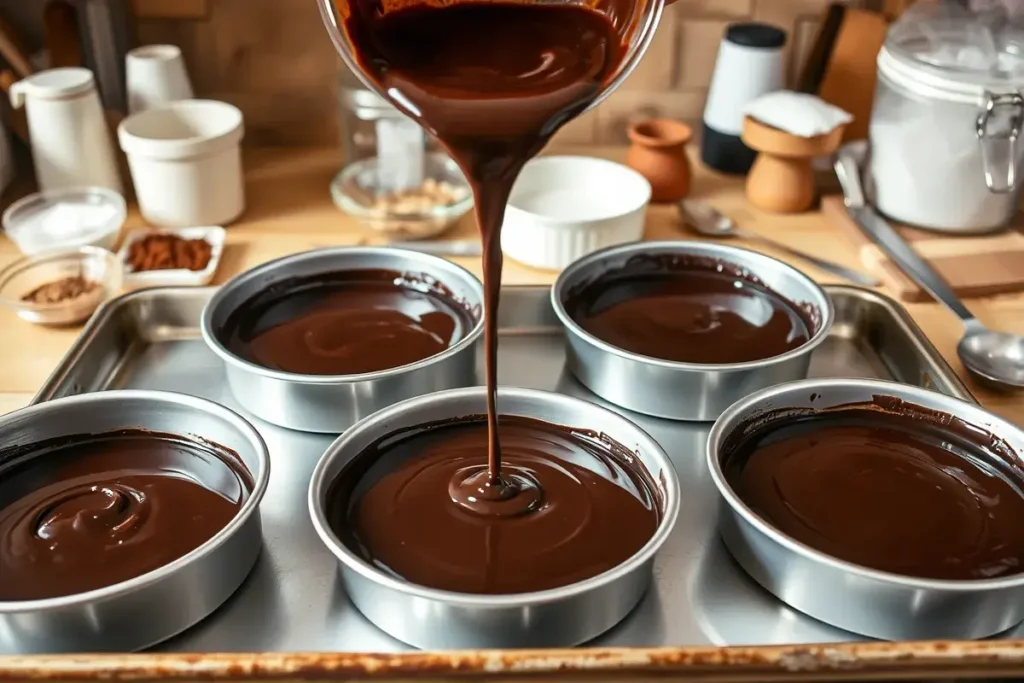
- Prepare the Pans: Grease and line your round cake pans with parchment paper to prevent sticking. Preheat your oven to 350°F (175°C) to ensure an even baking temperature.
- Divide the Batter: Evenly distribute the batter between the prepared pans. Use a kitchen scale to ensure the layers are the same size, which helps with even baking and makes assembling the cake easier.
- Bake: Place the pans in the center of the oven and bake for 25-30 minutes, or until a toothpick inserted into the center comes out clean. Avoid opening the oven door too often, as this can cause the cake to sink.
- Cool Completely: Let the cakes cool in their pans for 10 minutes before transferring them to a wire rack. Allow them to cool completely before assembling the cake.
3. Making the Chocolate Pudding Filling
The chocolate pudding filling is what sets a blackout cake apart, adding an extra layer of creamy richness. Here’s how to make it:
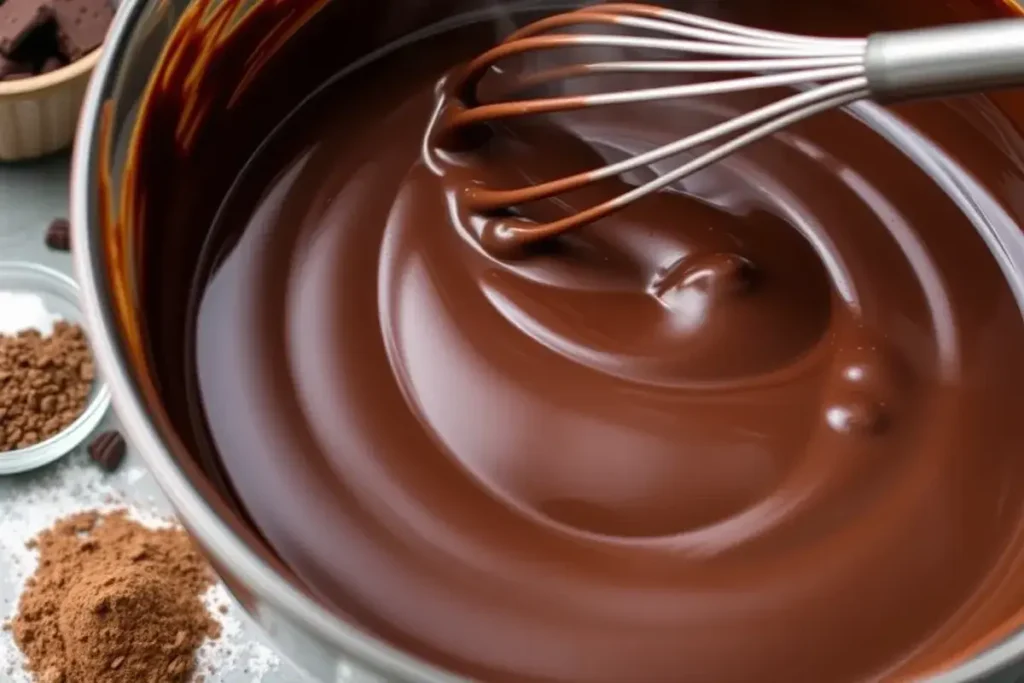
- Ingredients: You’ll need cocoa powder, cornstarch, sugar, milk, heavy cream, and dark chocolate. These create a thick, luscious filling that complements the cake layers perfectly.
- Cook the Pudding: In a medium saucepan, whisk together the cocoa powder, cornstarch, sugar, and a pinch of salt. Gradually add the milk and heavy cream, whisking constantly to avoid lumps. Cook over medium heat, stirring continuously, until the mixture thickens and begins to bubble.
- Add Chocolate and Cool: Remove the pudding from heat and stir in chopped dark chocolate until fully melted and smooth. Cover the pudding with plastic wrap, pressing it directly onto the surface to prevent a skin from forming. Allow it to cool completely before using.
4. Assembling and Crumbing the Cake
This is where the magic happens—transforming your layers and pudding into a stunning blackout cake:
- Trim and Level the Cake Layers: Use a serrated knife or cake leveler to trim the domed tops of the cake layers, creating a flat surface. Reserve the trimmings for the crumb coating.
- Layer the Cake: Place the first cake layer on a serving plate or cake stand. Spread a generous layer of chocolate pudding on top, then add the second cake layer. Repeat until all layers are stacked.
- Apply a Thin Crumb Coat: Spread a thin layer of pudding over the entire cake to seal in the crumbs. This step ensures a smooth final coat.
- Create the Signature Crumb Coating: Crumble the reserved cake trimmings into fine crumbs. Press the crumbs onto the sides and top of the cake, covering it completely. This not only adds visual appeal but also enhances the texture.
Tips for Achieving the Perfect Texture and Flavor
Creating a blackout cake that is rich, moist, and bursting with chocolate flavor requires more than just following a recipe—it’s about mastering the techniques and understanding the ingredients. Here, we’ll share tried-and-true tips to ensure your blackout cake turns out perfect every time.
How to Avoid a Dry Cake
One of the most common pitfalls when baking any cake is ending up with a dry texture. To keep your blackout cake moist and fudgy, follow these tips:
- Use Room Temperature Ingredients
Ensure that your eggs, butter, and milk are at room temperature before mixing. This allows the ingredients to blend more smoothly, resulting in a more even batter and moist cake layers. - Don’t Overmix the Batter
Overmixing can lead to a dense and tough cake. Mix just until the ingredients are combined, and avoid overworking the batter to preserve its light and airy texture. - Monitor Baking Time and Temperature
Set your oven to the correct temperature and use an oven thermometer to avoid under- or over-baking. Check for doneness a few minutes before the recommended baking time by inserting a toothpick into the center of the cake—it should come out with a few moist crumbs, not wet batter. - Add Moisture Enhancers
Incorporate ingredients like buttermilk, sour cream, or even a splash of coffee into the batter. These not only add moisture but also enhance the overall flavor profile.
Enhancing Chocolate Flavor
A blackout cake is all about deep, intense chocolate flavor. Here’s how to amplify it:
- Use High-Quality Cocoa Powder
Opt for Dutch-process cocoa powder for a rich and smooth chocolate taste. It has a lower acidity and more robust flavor compared to natural cocoa powder. - Add Espresso Powder
A small amount of espresso powder or strong brewed coffee enhances the chocolate flavor without making the cake taste like coffee. This trick deepens the complexity of the chocolate. - Incorporate Dark Chocolate
Use melted dark chocolate in your batter or ganache for a more intense and luxurious chocolate experience. - Salt for Balance
A pinch of salt in your batter and filling can bring out the sweetness and enhance the overall depth of flavor. It’s a small step that makes a big difference.
Common Mistakes to Avoid
Even the most experienced bakers can stumble over a few common mistakes. Avoid these pitfalls to ensure your blackout cake turns out perfect:
- Using the Wrong Type of Cocoa Powder
Be sure to use the cocoa powder specified in the recipe. Natural cocoa powder and Dutch-process cocoa powder react differently with baking soda and baking powder, which can affect the cake’s texture and rise. - Skipping the Crumb Coating
The signature chocolate crumb coating not only adds texture but also enhances the overall presentation of the cake. Take the time to crumble a portion of the cake and gently press it onto the frosting. - Not Letting the Cake Cool Completely
Patience is key! Frosting or assembling a warm cake can lead to a messy, uneven result. Allow the cake layers to cool completely before adding the pudding filling and frosting. - Improper Storage
Store your blackout cake properly to maintain its texture and flavor. Keep it in an airtight container in the refrigerator, but allow it to come to room temperature before serving to enjoy its full richness.
Serving and Storing Your Blackout Cake
The way you serve and store your blackout cake can greatly enhance its taste and texture, ensuring every slice is as rich and satisfying as the first. In this section, we’ll explore the best ways to serve your cake, how to store it properly, and tips for maintaining its moist and fudgy texture over time.
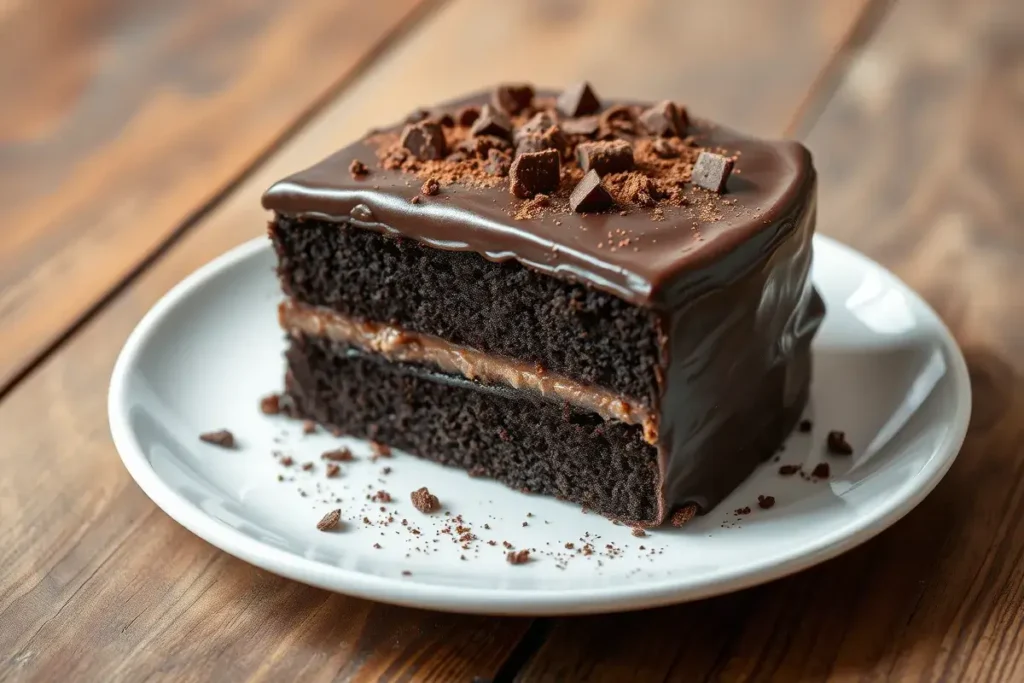
Best Ways to Serve Blackout Cake
A well-made blackout cake deserves a proper presentation and pairing to elevate its flavors. Here are some tips to ensure your guests savor every bite:
- Serve at Room Temperature: While blackout cake can be stored in the refrigerator, serving it at room temperature enhances its rich, fudgy texture and intensifies the chocolate flavor. Remove the cake from the fridge 30 minutes to an hour before serving.
- Pair with Complementary Beverages: Blackout cake pairs wonderfully with a variety of drinks. Consider serving it with:
- A hot cup of coffee or espresso to balance the sweetness.
- A glass of cold milk for a classic, comforting combo.
- A rich dessert wine or chocolate liqueur for a sophisticated touch.
- Garnish for Extra Flair: For a polished presentation, garnish slices with:
- A dollop of whipped cream or a scoop of vanilla ice cream.
- Fresh berries, such as raspberries or strawberries, to add a touch of brightness.
- A sprinkle of chocolate shavings or cocoa powder for a decorative finish.
Storing Leftovers Properly
If you’re lucky enough to have leftover blackout cake, proper storage is key to preserving its flavor and texture. Follow these tips to keep your cake fresh:
- Wrap It Well: To prevent the cake from drying out or absorbing odors from the fridge, wrap it tightly in plastic wrap or aluminum foil. Alternatively, store it in an airtight container.
- Refrigerate for Longer Shelf Life: Blackout cake can last up to 4-5 days in the refrigerator when stored properly. The chilled environment keeps the chocolate pudding filling and cake layers moist.
- Freeze for Future Indulgence: For longer storage, consider freezing your cake. Slice it into individual portions, wrap each piece in plastic wrap, and place them in a freezer-safe bag or container. Frozen blackout cake can last up to 3 months and can be thawed in the refrigerator overnight before serving.
Reheating Tips for That Fresh-Out-of-the-Oven Taste
Want to enjoy your blackout cake as if it were freshly made? Here’s how to bring back its warm, fudgy goodness:
- Microwave Method: Place a slice of cake on a microwave-safe plate and heat it for 10-15 seconds. This will soften the cake slightly and bring out the rich chocolate flavor.
- Oven Method: Preheat your oven to 300°F (150°C). Wrap a slice of cake in aluminum foil and warm it in the oven for 5-10 minutes. This method works well for larger portions.
- Serve with Warm Toppings: For an extra indulgent experience, drizzle warm chocolate ganache or caramel sauce over your reheated slice.
Proper serving and storage techniques will ensure your blackout cake remains as delicious as the day you made it. Whether you’re sharing it with friends or savoring it solo, these tips will help you enjoy every decadent bite.
Try out this Blackout Cake and let your creativity shine! We’d love to see your sweet creations. Tag us on Instagram at @SweetEatsRecipes and use the hashtag #BlackoutCake to get featured.

