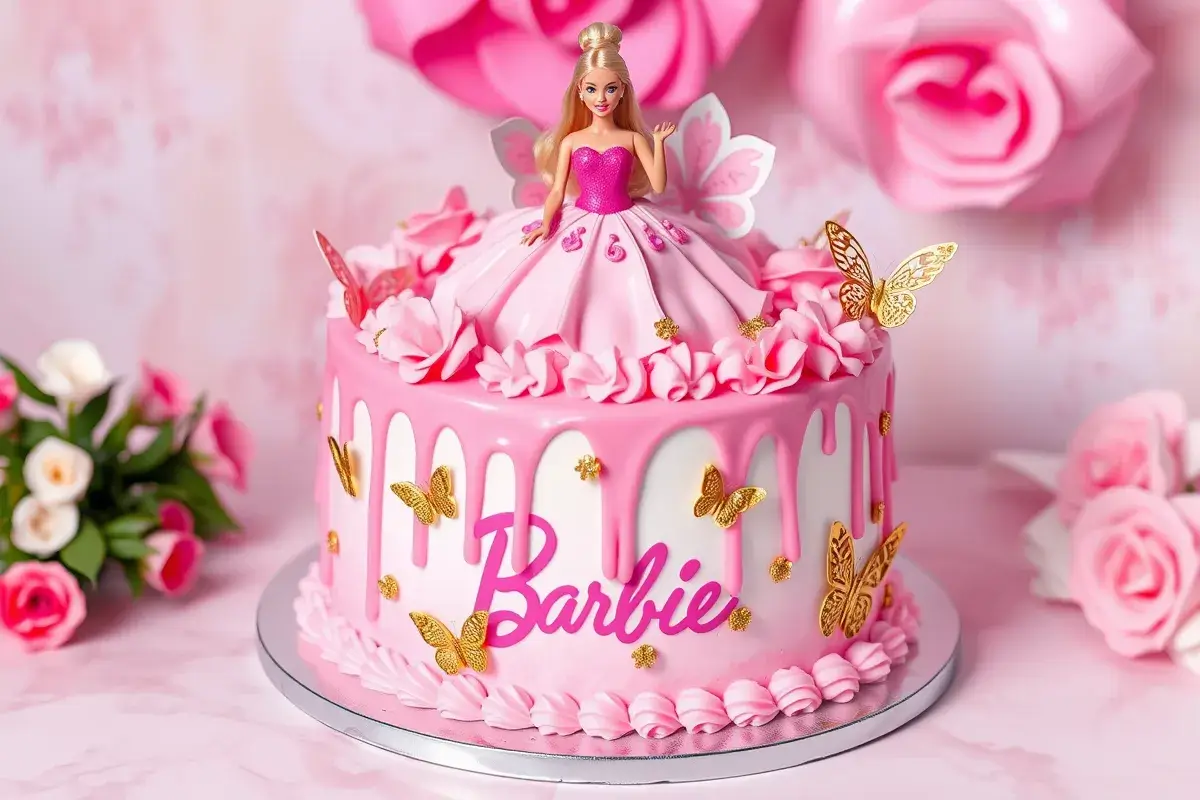
Imagine the delight on a child’s face when their favorite Barbie doll is transformed into a breathtaking centerpiece at their birthday party. Barbie cakes have become the ultimate party trend, offering a perfect blend of creativity, imagination, and deliciousness. These cakes aren’t just desserts; they’re show-stopping pieces of edible art that make any celebration unforgettable. From the twirl of a beautifully piped frosting skirt to the sparkle of edible glitter, Barbie cakes capture the hearts of both kids and adults alike.
Whether you’re a baking novice looking to try something new or an experienced baker ready to take on a creative challenge, this guide is tailored to help you every step of the way. You don’t need to be a professional pastry chef to make a stunning Barbie cake; with the right tools, ingredients, and a touch of inspiration, you’ll be able to create a masterpiece that’s as delicious as it is beautiful.
In this blog post, we’ll break down the process into easy-to-follow steps, share practical tips for avoiding common mistakes, and inspire you with creative design ideas to make your Barbie cake stand out. We’ll cover everything from baking the perfect base and achieving a flawless frosting finish to adding the intricate details that bring your Barbie cake to life. By the end of this guide, you’ll not only have a cake that’s the star of the party but also the confidence to tackle other creative baking projects.
So, whether it’s for a birthday, a themed party, or just a fun family project, let’s dive into the magical world of Barbie cakes. Get ready to wow your guests and create memories that will last a lifetime!
Tools and Ingredients Needed to Make a Barbie Cake
Tools:
To ensure your Barbie cake turns out flawless, you’ll need the right tools. Here’s a list of essentials:
- Cake Turntable: Makes decorating easier and ensures smooth frosting application.
- Piping Bags and Tips: Perfect for intricate designs like ruffles and lace.
- Offset Spatula: Essential for spreading frosting evenly.
- Rolling Pin: Useful for rolling out fondant to create a smooth finish.
- Serrated Knife: Ideal for trimming cake layers and shaping the dress.
- Dome-Shaped or Round Cake Pans: Helps create the iconic skirt shape.
- Barbie Doll or Doll Pick: The centerpiece of your cake.
- Measuring Cups and Spoons: Ensures accuracy in your recipe.
- Cake Board: Provides a sturdy base for your creation.
- Fondant Smoother: Ensures a polished finish for fondant designs.
Optional tools include an edible paintbrush for adding glitter or details and molds for creating fondant embellishments like flowers or bows.
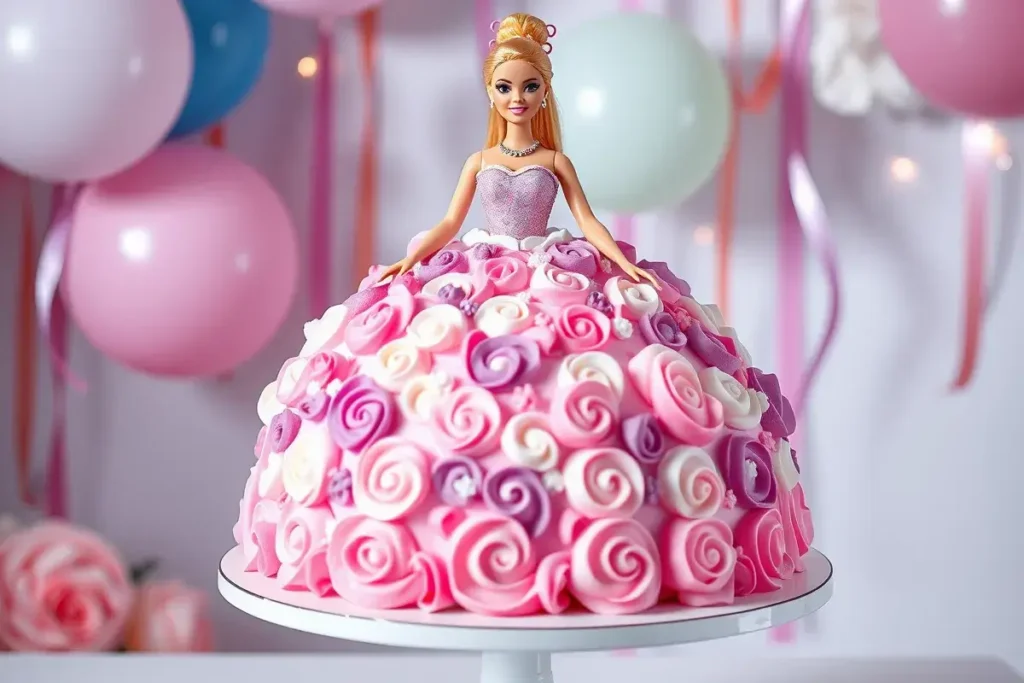
Ingredients:
Here’s what you’ll need to make your Barbie cake delicious and visually stunning:
- Cake Batter: Choose your favorite flavor, such as chocolate, vanilla, or funfetti. You can use a boxed mix or make it from scratch.
- Buttercream Frosting: Acts as a base layer and adhesive for decorations.
- Fondant: Optional but recommended for a smooth, professional finish.
- Gel Food Coloring: Adds vibrant colors to your frosting and fondant.
- Edible Glitter, Sprinkles, and Pearls: Enhance the cake’s elegance.
- Flavorful Fillings: Options like raspberry jam, lemon curd, or chocolate ganache add a delicious surprise.
- Simple Syrup: Keeps the cake layers moist.
- Decorative Elements: Edible flowers, bows, or themed decorations for added flair.
Pro Tip: Gather all your tools and ingredients before starting to ensure a seamless baking process.
Step-by-Step Instructions for Baking the Perfect Barbie Cake Base
Step 1: Preparing the Cake Batter
Start by preparing your cake batter. If you’re using a boxed mix, follow the instructions on the package. For a homemade recipe, ensure you beat the batter until it’s smooth and lump-free. Divide the batter evenly between your chosen pans to ensure consistent baking.
- Pro Tip: Use parchment paper to line your pans for easy removal.
Step 2: Baking the Layers
- Preheat your oven to the recommended temperature.
- Prepare your pans by lining them with parchment paper or greasing them well.
- Pour the batter into the pans and bake until a toothpick inserted in the center comes out clean.
- Allow the cakes to cool completely before handling them to avoid crumbling.
- Pro Tip: Bake your layers a day in advance and refrigerate them for easier trimming and stacking.
Step 3: Trimming and Stacking the Layers
- Use a serrated knife to level the tops of the cakes for an even stack.
- Stack the layers with a thin layer of buttercream frosting between each. This acts as an adhesive and adds moisture.
Step 4: Creating the Skirt Shape
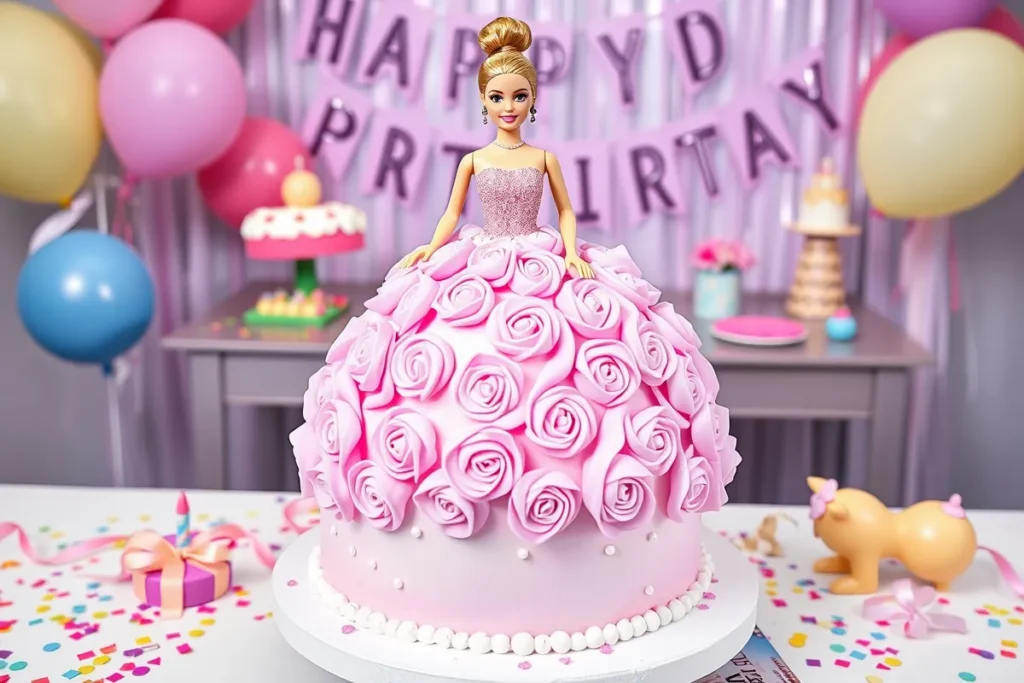
- Trim the edges of the stacked cakes to form a dome or skirt shape. Be gentle to avoid breaking the cake.
- Apply a crumb coat (a thin layer of frosting) to seal in any loose crumbs and chill the cake for 30 minutes.
- Pro Tip: Use a cardboard template to guide your trimming and achieve a symmetrical skirt shape.
Decorating the Barbie Cake Like a Pro
Step 1: Inserting the Barbie Doll
- Wrap the lower half of the Barbie doll (legs and torso) in plastic wrap or foil to keep it clean.
- Gently insert the doll into the center of the cake. If the doll is too tall, consider removing its legs or using a doll pick designed for cakes.
Step 2: Applying the Base Layer of Frosting
- Use an offset spatula to apply a smooth layer of buttercream frosting over the entire cake. This serves as the base for your decorations.
- Chill the cake again to set the frosting.
Step 3: Designing the Dress
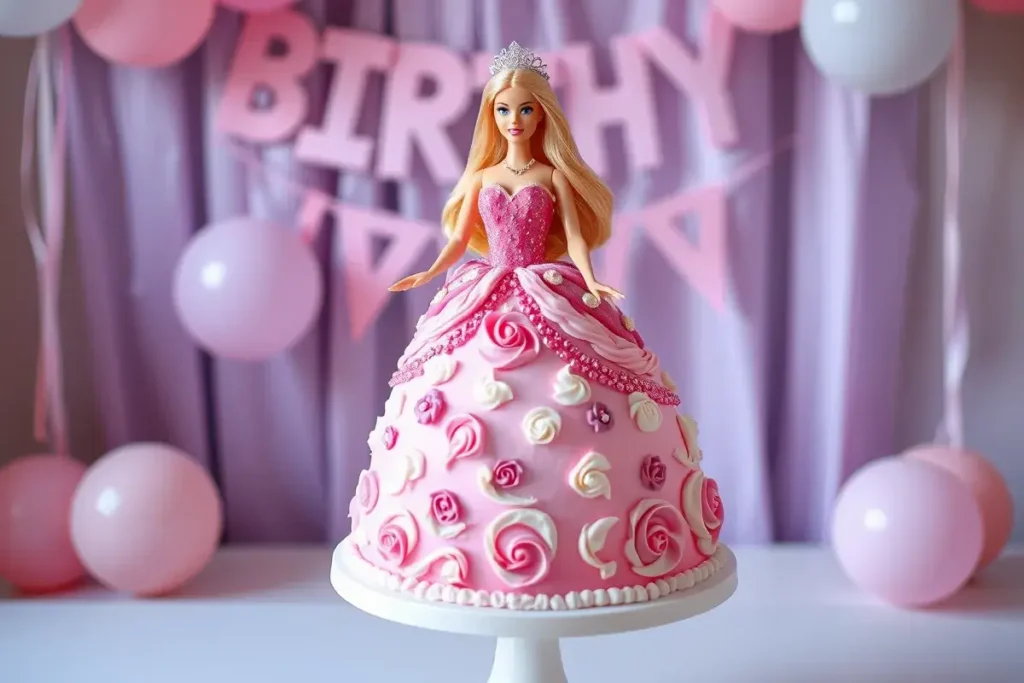
- Roll out fondant using a rolling pin and drape it over the cake to create a smooth dress. Trim any excess fondant at the base.
- For buttercream-only designs, use a piping bag with different tips to create ruffles, pleats, or patterns that mimic fabric.
Step 4: Adding Details
- Decorate the dress with edible glitter, pearls, or sprinkles for added elegance.
- Use small fondant flowers or bows to accentuate the design.
- Add finishing touches, such as a fondant tiara or edible necklace for the Barbie doll.
- Pro Tip: Use contrasting colors for accents to make your design pop.
Creative Barbie Cake Design Ideas
Creating a Barbie cake offers endless opportunities to showcase your creativity. Here are some themed ideas to inspire your design, ensuring your cake is as unique as it is stunning:
Theme 1: Princess Barbie
Transform your Barbie cake into a royal masterpiece fit for a princess. This theme emphasizes elegance and charm, making it a perfect choice for little ones who love fairy tales.
- Color Scheme: Light pink, lavender, and gold.
- Dress Design: Create a voluminous skirt using layers of fondant or buttercream ruffles. Add gold accents, edible pearls, and a shimmering finish with edible glitter.
- Decorative Elements: Incorporate fondant bows, a golden tiara, and tiny fondant flowers for an enchanting look.
- Pro Tip: Use a pearl sheen spray for a magical glow that enhances the royal theme.
Theme 2: Fashionista Barbie
Celebrate Barbie’s iconic role as a fashion icon with a bold and modern cake design. This theme is ideal for older kids or adults who adore Barbie’s glamorous style.
- Color Scheme: Hot pink, black, and silver.
- Dress Design: Craft a sleek gown with fondant or use buttercream to create trendy patterns like polka dots or zebra stripes. Add a sparkling belt or glitter accents for extra flair.
- Decorative Elements: Add fondant handbags, high heels, or sunglasses to reflect Barbie’s chic persona.
- Pro Tip: Use silver edible paint to highlight accents and make the design pop.
Theme 3: Fairy Tale Barbie
Dive into the whimsical world of fairy tales with a cake that brings magic to life. This theme is perfect for children who adore fantasy and mythical creatures.
- Color Scheme: Light blue, white, and pastel green.
- Dress Design: Create a flowing, ethereal gown with fondant drapes and floral patterns. Add touches of sparkle with edible glitter and pearl dust.
- Decorative Elements: Include fondant butterflies, edible flowers, and a small fondant wand to complete the magical vibe.
- Pro Tip: Use edible lace to mimic delicate fairy wings for a truly enchanting effect.
Theme 4: Winter Wonderland Barbie
A winter wonderland theme brings icy elegance to your Barbie cake. This design is ideal for winter birthdays or holiday celebrations.
- Color Scheme: White, silver, and icy blue.
- Dress Design: Create an icy ball gown with shimmering fondant layers. Add snowflake details using fondant cutters and edible glitter for a frosty finish.
- Decorative Elements: Use edible snowflakes, sugar crystals, and silver pearls to complete the wintery look.
- Pro Tip: Add a touch of edible shimmer powder to the entire cake for a frosted effect.
Theme 5: Personalized Barbie
Make the Barbie cake uniquely yours by customizing the design to match the birthday child’s personality or interests. This theme allows for unlimited creativity and personalization.
- Color Scheme: Choose colors based on the child’s preferences.
- Dress Design: Incorporate patterns, textures, or decorations that reflect their favorite hobbies, movies, or styles.
- Decorative Elements: Add the child’s name or age using fondant letters or edible toppers.
- Pro Tip: Collaborate with the birthday child to select elements and make the process more meaningful and fun.
Tips and Tricks for Perfecting Your Barbie Cake
Tip 1: Fixing Common Mistakes
Even experienced bakers face challenges when making intricate cakes. Here’s how to troubleshoot common issues:
- Uneven Frosting: To smooth out uneven areas, dip your offset spatula in warm water, wipe it clean, and glide it gently over the frosting.
- Fondant Tearing: If fondant starts tearing, knead it thoroughly before rolling to improve elasticity. You can also patch small tears by blending with a bit of water.
- Lopsided Cake Layers: Use a leveler or a serrated knife to even out layers before stacking. Always work on a flat surface.
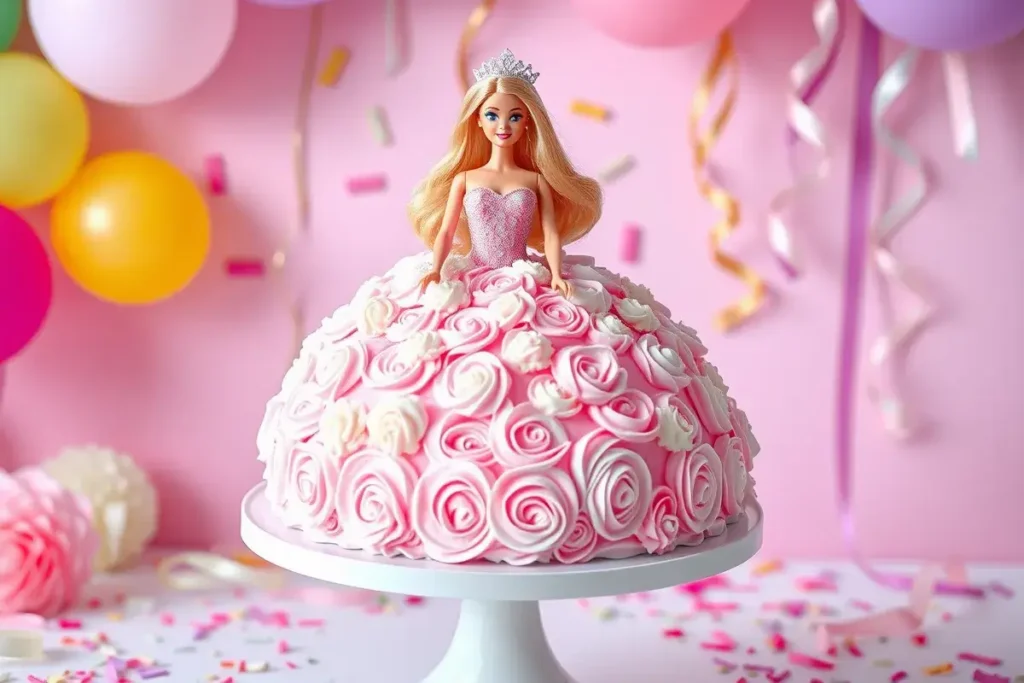
Tip 2: Enhancing Visual Appeal
A visually stunning cake makes a lasting impression. Enhance your Barbie cake with these ideas:
- Edible Glitter: Add sparkle to the dress or accessories to make the cake shine under party lights.
- Pearl Accents: Use edible pearls to create elegant details such as necklaces, belts, or borders.
- Intricate Piping Designs: Experiment with piping techniques to create lace, frills, or floral patterns on the dress.
- Ombre Effect: Blend colors seamlessly on the frosting or fondant for a striking gradient effect.
Tip 3: Storing and Transporting the Cake
Preserve your hard work with proper storage and transportation techniques:
- Storage: Keep the cake in a cool, dry place. If made in advance, store it in a fridge but allow it to reach room temperature before serving to enhance flavor.
- Transportation: Use a sturdy cake box with a non-slip mat underneath to secure it during transit. Avoid transporting the cake in extreme heat.
Tip 4: Elevating Flavors
A Barbie cake should taste as delightful as it looks. Elevate flavors with these tips:
- Simple Syrup: Brush each layer with flavored simple syrup (e.g., vanilla or citrus) to keep the cake moist and add subtle sweetness.
- Unique Fillings: Incorporate gourmet fillings like salted caramel, fresh berries, or Nutella for a delightful surprise.
- Complementary Frostings: Pair your cake flavor with frosting that complements it—e.g., lemon frosting for vanilla cake or chocolate ganache for chocolate cake.
Tip 5: Involving Kids in the Process
Making a Barbie cake can be a fun family project. Here’s how to get kids involved:
- Let them choose colors for the frosting or fondant.
- Have them help with simple tasks like sprinkling glitter or adding edible decorations.
- Teach them basic piping techniques for a hands-on experience.
This comprehensive guide ensures you’ll have all the tips and tricks needed to perfect your Barbie cake, making it a centerpiece that’s both beautiful and delicious!
Conclusion
Creating a Barbie cake is more than just baking; it’s an opportunity to showcase creativity and bring joy to a special celebration. From baking the base to adding intricate details, this step-by-step guide simplifies the process, making it accessible to bakers of all skill levels. So, roll up your sleeves, gather your tools, and let your imagination run wild.
Try out this Barbie Cake recipe and let your creativity shine! We’d love to see your sweet creations. Tag us on Instagram at @SweetEatsRecipes and use the hashtag #BarbieCake to get featured.

