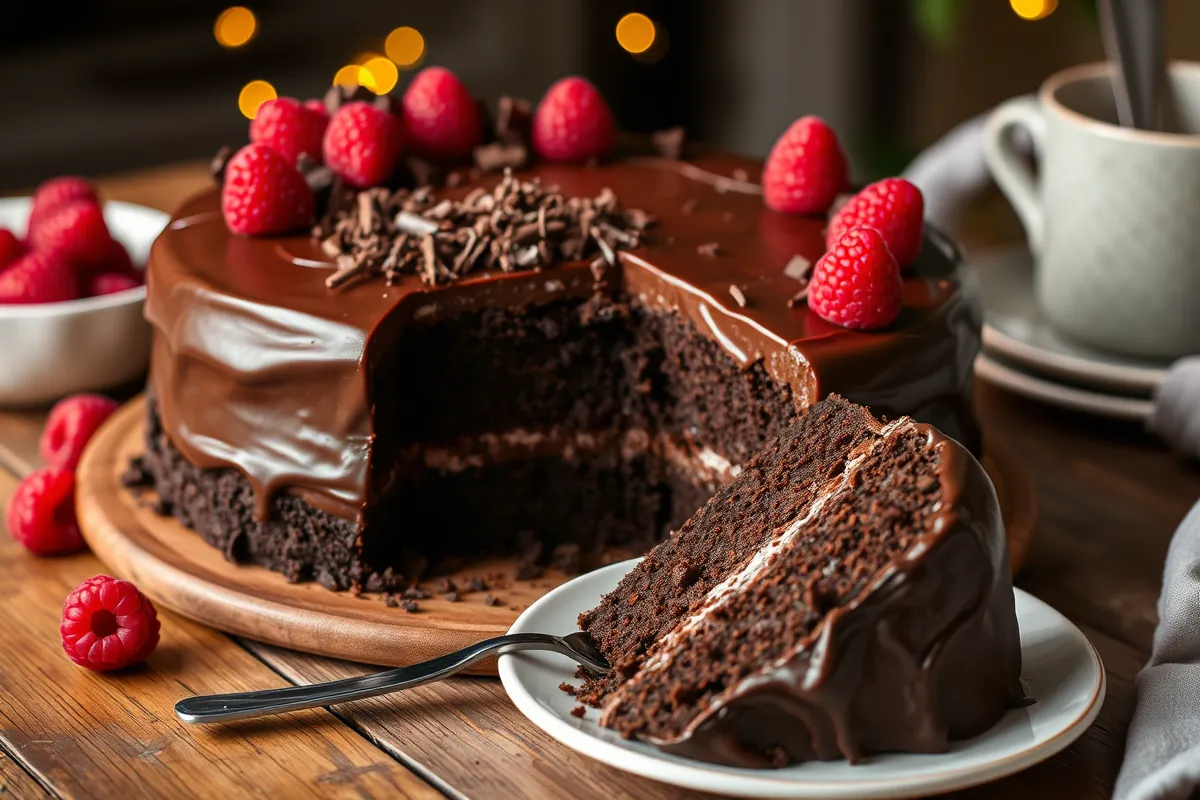
Matilda Chocolate Cake: A Decadent Treat Worth Every Bite
There’s something universally heartwarming about chocolate cake, and when it comes to iconic cakes from pop culture, none is as memorable as the Matilda Chocolate Cake. Featured in the classic movie Matilda, this rich, fudgy dessert stole the spotlight during the unforgettable “Bruce Bogtrotter” scene. This blog is your ultimate guide to recreating that indulgent, nostalgic masterpiece in your own kitchen.
Whether you’re a seasoned baker or a chocolate cake enthusiast trying your hand at this recipe for the first time, the Matilda Chocolate Cake is a must-try. This blog will cover everything you need, from preparation to variations, FAQs, and helpful tips, ensuring your cake turns out moist, chocolatey, and utterly irresistible.
Table of Contents
Why You’ll Love This Recipe
- Ultimate Chocolate Indulgence: Made with rich cocoa and layered with velvety frosting, this cake offers an explosion of chocolate flavor.
- Nostalgic Charm: Fans of Matilda will enjoy reliving the movie’s most iconic dessert moment.
- Perfect for Any Occasion: Whether it’s a birthday, a movie-themed party, or just because, this cake is a surefire crowd-pleaser.
- Versatile and Customizable: Easily adapt the recipe to make cupcakes, layer cakes, or mini bundts.
Recipe Details
| Preparation Time | 25 minutes |
|---|---|
| Cook Time | 35 minutes |
| Total Time | 1 hour |
| Servings | 12 |
| Yield | One 9-inch layered cake |
What Is Matilda Chocolate Cake?
The Matilda Chocolate Cake is inspired by the towering, decadent cake seen in the 1996 movie Matilda. In one of the most memorable scenes, a young boy named Bruce Bogtrotter is challenged to eat an enormous slice of chocolate cake as a punishment. Instead of defeat, Bruce turns the moment into a triumph, finishing the cake to the cheers of his classmates.
Recreating this cake isn’t just about indulging in dessert—it’s about bringing a piece of nostalgia to life. The cake is known for its moist texture, deep chocolate flavor, and smooth frosting, making it an unforgettable treat.
Ingredients
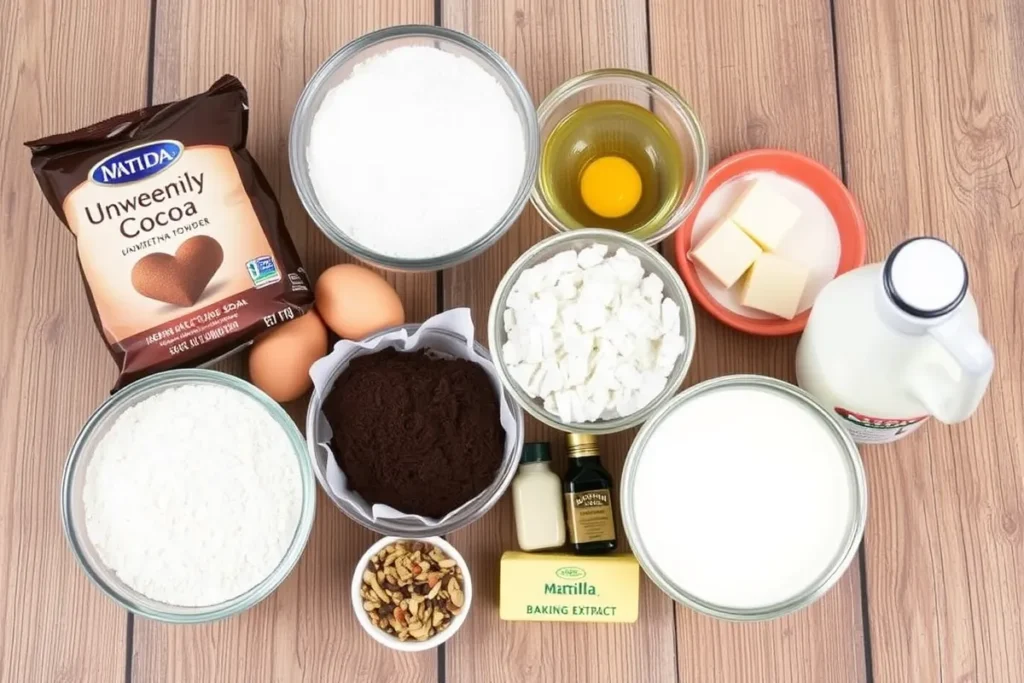
For the Cake:
- 2 cups all-purpose flour
- 2 cups granulated sugar
- 1 cup unsweetened cocoa powder
- 2 teaspoons baking powder
- 1 ½ teaspoons baking soda
- 1 teaspoon salt
- 1 cup buttermilk
- ½ cup vegetable oil
- 2 large eggs
- 2 teaspoons vanilla extract
- 1 cup hot coffee (or hot water for a milder flavor)
For the Frosting:
- 1 cup unsalted butter, softened
- 3 ½ cups powdered sugar
- ½ cup unsweetened cocoa powder
- 1 teaspoon vanilla extract
- 4–6 tablespoons heavy cream (adjust for desired consistency)
Step-by-Step Directions
Step 1: Preheat and Prepare
Start by preheating your oven to 350°F (175°C). Grease and line two 9-inch round cake pans with parchment paper to ensure easy removal after baking.
Step 2: Combine the Dry Ingredients
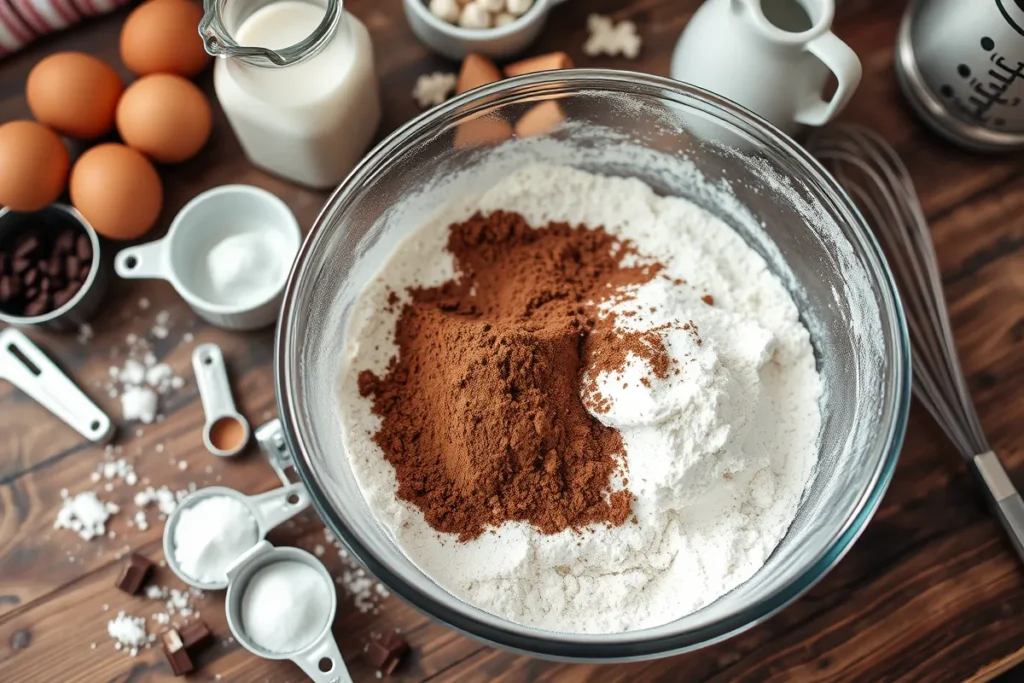
Combine the flour, sugar, cocoa powder, baking powder, baking soda, and salt in a large bowl, and whisk thoroughly until the mixture is evenly blended. This ensures the dry ingredients are evenly distributed for a uniform texture.
Step 3: Mix the Wet Ingredients
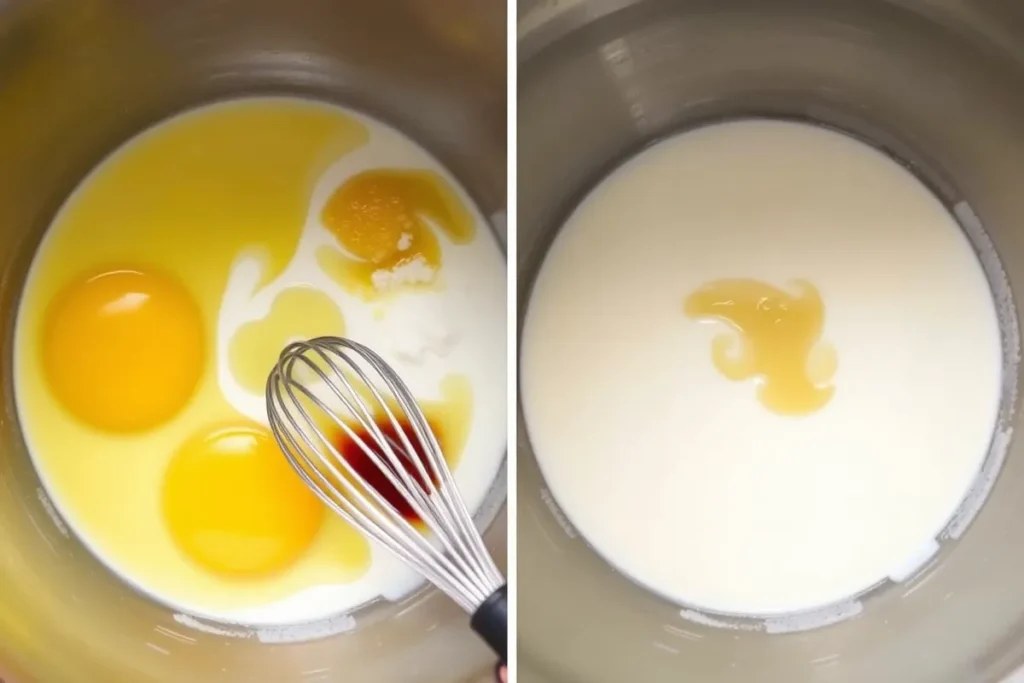
In another bowl, whisk the buttermilk, vegetable oil, eggs, and vanilla extract. Slowly incorporate the wet mixture into the dry ingredients, mixing gently to combine. Once combined, slowly pour in the hot coffee while mixing. The batter will be thin, but this is the secret to a moist, tender cake.
Step 4: Bake the Cake
Evenly distribute the batter into the prepared pans, then bake for 30–35 minutes. Insert a toothpick into the center of the cakes to test for doneness; it should come out clean or with only a few moist crumbs clinging to it. Allow the cakes to rest in their pans for about 10 minutes, then gently transfer them to a wire rack to finish cooling entirely.
Step 5: Prepare the Frosting and Assemble
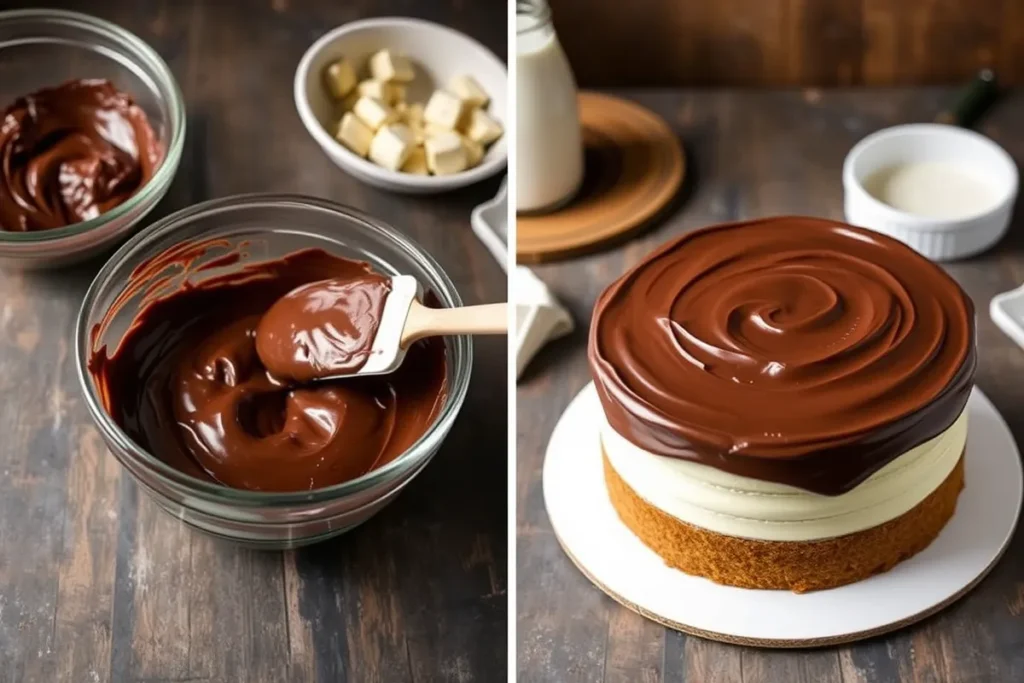
Using a mixer, beat the softened butter until creamy. Gradually add powdered sugar, cocoa powder, and vanilla extract, mixing until smooth. Incorporate heavy cream gradually, one tablespoon at a time, until the frosting reaches your preferred consistency. Once the cakes are cooled, spread frosting generously between the layers and over the top and sides of the cake.
Pro Tips for Success
- Use Room-Temperature Ingredients: For even mixing and a smooth batter, ensure your eggs, butter, and buttermilk are at room temperature.
- Don’t Skip the Coffee: Even if you’re not a coffee drinker, it enhances the chocolate flavor without making the cake taste like coffee.
- Cool Completely Before Frosting: Frosting a warm cake can cause the frosting to melt, resulting in a messy finish.
- Use an Offset Spatula: This tool makes spreading and smoothing the frosting a breeze.
Nutrition Facts (Per Serving)
| Nutritional Component | Amount |
|---|---|
| Calories | 450 |
| Protein | 5g |
| Carbohydrates | 60g |
| Fat | 20g |
| Fiber | 3g |
| Sugar | 40g |
Decorating Ideas for Matilda Chocolate Cake
Turn your Matilda Chocolate Cake into a show-stopping centerpiece with these creative decorating ideas! Whether you want to keep it simple or go all out, these ideas will elevate your cake’s presentation.
1. Classic Chocolate Elegance
- What You Need: Chocolate shavings, cocoa powder, or powdered sugar.
- How to Decorate:
- Sift cocoa powder or powdered sugar lightly over the frosted cake for a simple yet elegant look.
- Add dark chocolate shavings around the edges or on top of the cake for a touch of sophistication.
2. Nostalgic Movie-Inspired Design
- What You Need: Fondant or edible prints of Matilda movie characters.
- How to Decorate:
- Use edible fondant to craft a miniature “Bruce Bogtrotter” or a slice of cake that mimics the movie scene.
- Place an edible print of the Matilda logo or characters on top of the cake.
3. Chocolate Ganache Drip
- What You Need: Semi-sweet chocolate chips and heavy cream.
- How to Decorate:
- Melt chocolate chips with heavy cream to create a ganache.
- Drizzle it around the edges of the cake to create a dramatic drip effect.
- Finish with chocolate curls or sprinkles.
4. Sprinkle Joy
- What You Need: Colorful sprinkles or metallic edible beads.
- How to Decorate:
- Scatter sprinkles over the frosting for a playful, vibrant look.
- For a more festive theme, use gold or silver edible beads to add sparkle.
5. Floral Chocolate Accents
- What You Need: Edible flowers or chocolate molds shaped like flowers.
- How to Decorate:
- Arrange edible flowers on top of the cake for a whimsical touch.
- Alternatively, mold melted chocolate into flower shapes and place them around the cake.
6. Rustic Swirls and Patterns
- What You Need: Offset spatula, piping bags, or a fork.
- How to Decorate:
- Use an offset spatula or a fork to create rustic swirls on the frosting.
- Pipe decorative patterns or borders using a piping bag and chocolate frosting.
7. Themed Cake Topper
- What You Need: A cake topper (DIY or store-bought).
- How to Decorate:
- Place a “Matilda”-themed cake topper or a chocolate figurine on top for a personal touch.
8. Layered Chocolate Bars
- What You Need: Assorted chocolate bars or candy bars.
- How to Decorate:
- Break chocolate bars into smaller pieces and layer them across the top of the cake.
- Add a mix of milk, dark, and white chocolate for visual contrast.
9. Whipped Cream Clouds
- What You Need: Freshly whipped cream and a piping bag.
- How to Decorate:
- Pipe dollops of whipped cream along the edges or in the center of the cake.
- Sprinkle cocoa powder or grated chocolate over the whipped cream for added flair.
10. Holiday Twist (for festive occasions)
- What You Need: Candy canes, peppermint bark, or red and green sprinkles.
- How to Decorate:
- Crumble peppermint bark on top of the cake or around its base.
- Use crushed candy canes for a pop of color and flavor.
Pro Tips for Decorating
- Chill the Cake: Always frost and decorate a chilled cake to ensure the frosting stays firm.
- Use Quality Ingredients: High-quality chocolate and fresh toppings elevate both the look and taste.
- Theme It Up: Adapt your decorations to match the occasion—be it birthdays, holidays, or movie nights.
With these decorating ideas, your Matilda Chocolate Cake will not only taste amazing but also look spectacular! Whether you’re channeling nostalgia or aiming for elegance, these tips ensure your cake will leave a lasting impression.
You’ll Also Love
Chocolate Fudge Layer Cake
A dense, rich cake with multiple layers of fudge frosting, perfect for celebrations.
Classic Chocolate Cupcakes
Moist and fluffy cupcakes topped with a creamy chocolate buttercream frosting.
Molten Lava Cake
A decadent single-serving dessert with a gooey chocolate center.
Variations
- Chocolate Ganache Finish
Replace the buttercream frosting with a silky chocolate ganache for a glossy, professional finish. - Add a Berry Twist
Layer the cake with raspberry or strawberry preserves for a fruity contrast to the rich chocolate. - Peanut Butter Chocolate Cake
Swap half the frosting for peanut butter frosting for a sweet and salty combination. - Mini Matilda Bundts
Use a mini bundt cake pan to create individual servings of this iconic dessert. - Gluten-Free Option
Substitute all-purpose flour with a gluten-free 1:1 baking flour for a celiac-friendly treat.
FAQs about Matilda Chocolate Cake
Can I use a box mix for this recipe?
Absolutely! If you’re short on time, a chocolate cake mix can serve as the base. Just make sure to prepare homemade frosting for that authentic Matilda feel.
Can I freeze this cake?
Yes! Secure the unfrosted cake layers in a snug layer of plastic wrap and store them in the freezer for up to three months.Allow the cake to reach room temperature before frosting it, and then it’s ready to serve.
How do I store leftover cake?
Store in an airtight container at room temperature for up to 2 days or refrigerate for up to 5 days. Bring to room temperature before serving for the best flavor.
Can I make this cake dairy-free?
Yes, substitute buttermilk with almond milk mixed with 1 tablespoon of vinegar or lemon juice. Use a dairy-free butter alternative for the frosting.
Why This Recipe Stands Out
The Matilda Chocolate Cake isn’t just any dessert—it’s a celebration of indulgence, nostalgia, and joy. Its rich, fudgy texture and decadent frosting make it a standout for birthdays, holidays, or movie-themed parties. Plus, with so many variations and customizations, you can make this cake uniquely yours.
Recreating the magic of the iconic Matilda scene is as easy as whipping up this recipe. Once you take that first bite, you’ll understand why this cake has captured the hearts of chocolate lovers everywhere.
Final Thoughts
The Matilda Chocolate Cake is more than a recipe—it’s a way to connect with childhood memories while enjoying a rich, chocolatey dessert. Whether you’re a fan of the movie or simply love great cake, this recipe will quickly become a favorite in your kitchen.
So, what are you waiting for? Gather your ingredients, preheat your oven, and get ready to create a chocolate masterpiece worthy of applause—just like Bruce Bogtrotter!
Try out these Matilda Chocolate Cake recipes and let your creativity shine! We’d love to see your sweet creations. Tag us on Instagram at @SweetEatsRecipes and use the hashtag #MatildaChocolateCake to get featured.
Matilda Chocolate Cake
Equipment
- Two 9-inch round cake pans
- Mixing bowls
- Whisk
- Electric mixer
- Measuring Cups and Spoons
- Offset spatula
- Wire rack
Ingredients
For the Cake:
- 2 cups all-purpose flour
- 2 cups granulated sugar
- 1 cup unsweetened cocoa powder
- 2 teaspoons baking powder
- 1 ½ teaspoons baking soda
- 1 teaspoon salt
- 1 cup buttermilk
- ½ cup vegetable oil
- 2 large eggs
- 2 teaspoons vanilla extract
- 1 cup hot coffee (or hot water for a milder flavor)
For the Frosting:
- 1 cup unsalted butter, softened
- 3 ½ cups powdered sugar
- ½ cup unsweetened cocoa powder
- 1 teaspoon vanilla extract
- 4–6 tablespoons heavy cream (adjust for desired consistency)
Instructions
- Step 1: Preheat and PreparePreheat your oven to 350°F (175°C).Grease and line two 9-inch round cake pans with parchment paper.
- Step 2: Mix the Dry IngredientsIn a large bowl, whisk together the flour, sugar, cocoa powder, baking powder, baking soda, and salt.
- Step 3: Mix the Wet IngredientsIn another bowl, whisk the buttermilk, vegetable oil, eggs, and vanilla extract.Gradually mix the wet ingredients into the dry ingredients.Slowly pour in the hot coffee while mixing until fully combined.
- Step 4: Bake the CakeDivide the batter evenly between the prepared pans.Bake for 30–35 minutes or until a toothpick inserted in the center comes out clean.Let the cakes rest in their pans for 10 minutes before transferring them to a wire rack to cool completely.
- Step 5: Make the Frosting and AssembleUsing an electric mixer, beat the butter until creamy.Gradually add the powdered sugar, cocoa powder, and vanilla extract, mixing until smooth.Add the heavy cream, one tablespoon at a time, until the desired consistency is reached.Frost the cooled cakes, layering between the cakes and covering the top and sides.
Notes
- Use room-temperature ingredients for a smooth batter.
- The coffee enhances the chocolate flavor without making the cake taste like coffee.
- Frost the cake only after it has completely cooled to avoid melting the frosting.
- Store in an airtight container at room temperature for up to 2 days or in the refrigerator for up to 5 days.

