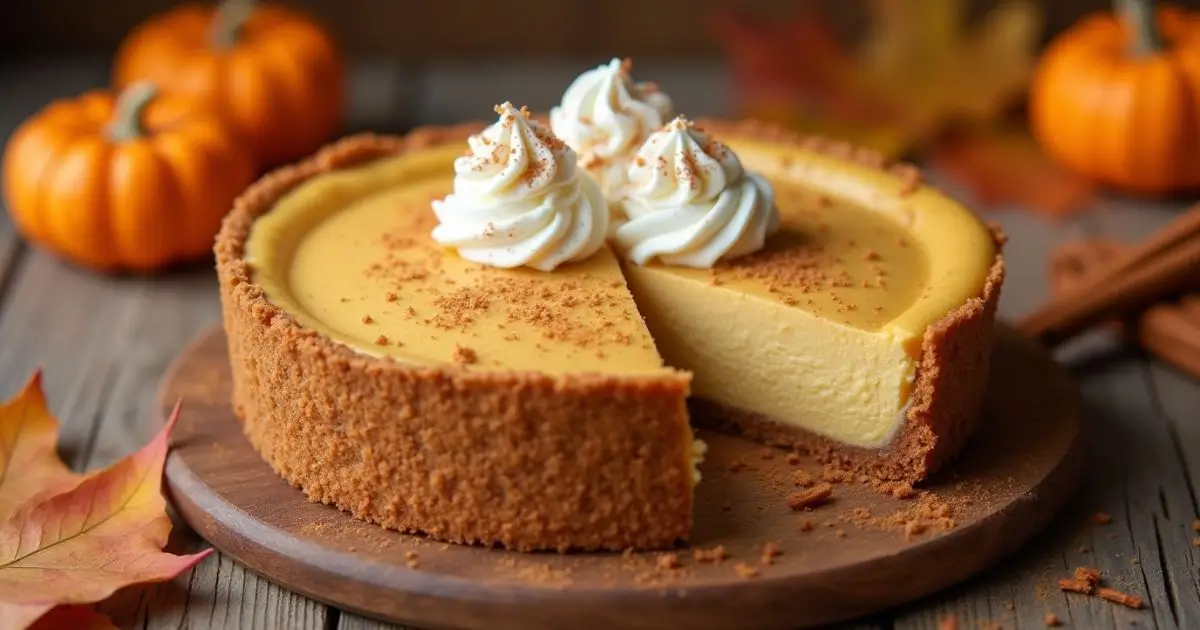
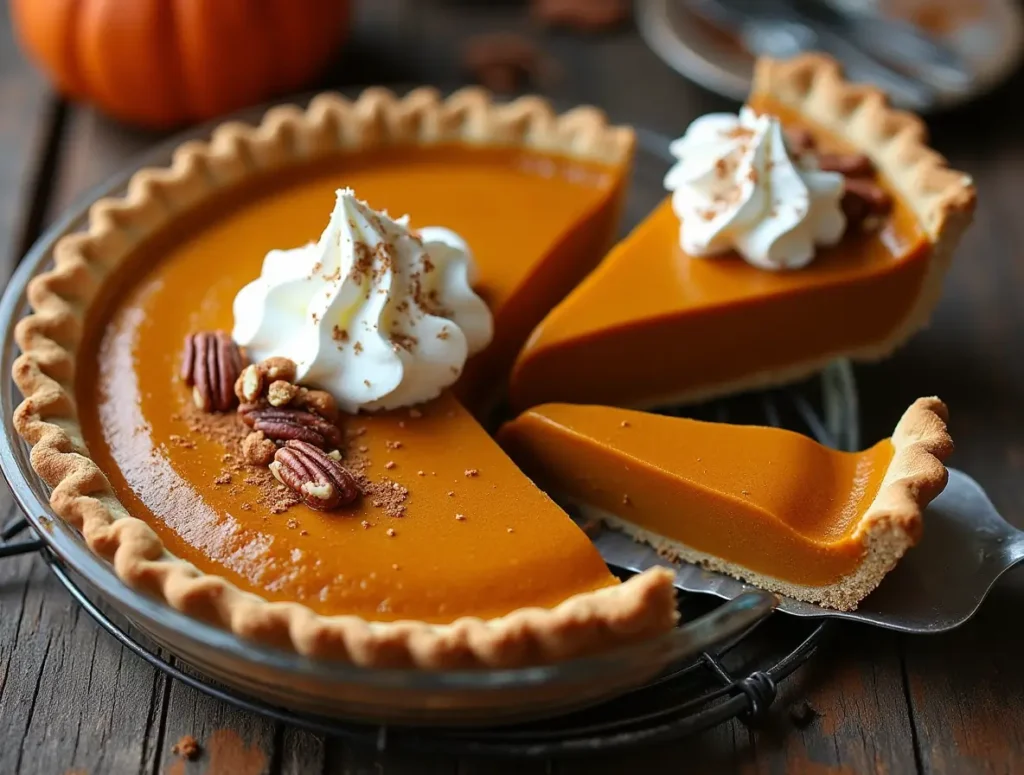
Imagine this: the tantalizing aroma of spiced pumpkin filling your kitchen, a golden graham cracker crust baked to perfection, and a dessert so smooth and creamy that it melts in your mouth. This isn’t just any pumpkin pie; it’s the Milk Bar Pumpkin Pie — a dessert that redefines a fall classic. Whether you’re a seasoned baker or a pie newbie, this guide will walk you through every step of creating a showstopping pie that’s bound to impress.
What Makes the Milk Bar Pumpkin Pie So Special?
A Modern Twist on a Classic Dessert
When you think of pumpkin pie, you probably envision a traditional recipe passed down through generations. While those recipes hold a special place in our hearts, the Milk Bar Pumpkin Pie takes things to the next level. Its silky filling is perfectly spiced, and the graham cracker crust offers a delightful crunch that elevates the entire experience. This pie isn’t just a dessert; it’s a centerpiece for your table and a conversation starter.
Inspired by Christina Tosi’s Dessert Innovations
Milk Bar founder Christina Tosi has a knack for creating desserts that are as fun as they are delicious. The Milk Bar Pumpkin Pie reflects her playful yet sophisticated approach to baking. It’s perfect for those who crave something a little different but still want the comforting flavors of fall. Whether it’s your first time baking or you’re a Milk Bar fan looking to recreate the magic at home, this pie is a must-try.
Key Ingredients for the Best Milk Bar Pumpkin Pie
Great pies start with great ingredients. Here’s what you’ll need:
Essential Ingredients
| Ingredient | Measurement | Notes |
|---|---|---|
| Graham cracker crumbs | 1 1/2 cups | Finely ground for a smooth crust |
| Unsalted butter | 6 tablespoons | Melted, to bind the crust |
| Pumpkin puree | 1 cup | Use canned or fresh, unsweetened |
| Sweetened condensed milk | 1 can (14 oz) | Adds creaminess and sweetness |
| Eggs | 2 large | Helps bind the filling |
| Ground cinnamon | 1 teaspoon | Adjust to taste |
| Ground ginger | 1/2 teaspoon | Adds warmth |
| Nutmeg | 1/4 teaspoon | Optional, for depth |
| Whipped cream (optional) | For serving | A light, fluffy topping |
Step-by-Step Guide to Making Milk Bar Pumpkin Pie
Step 1: Prepare the Graham Cracker Crust
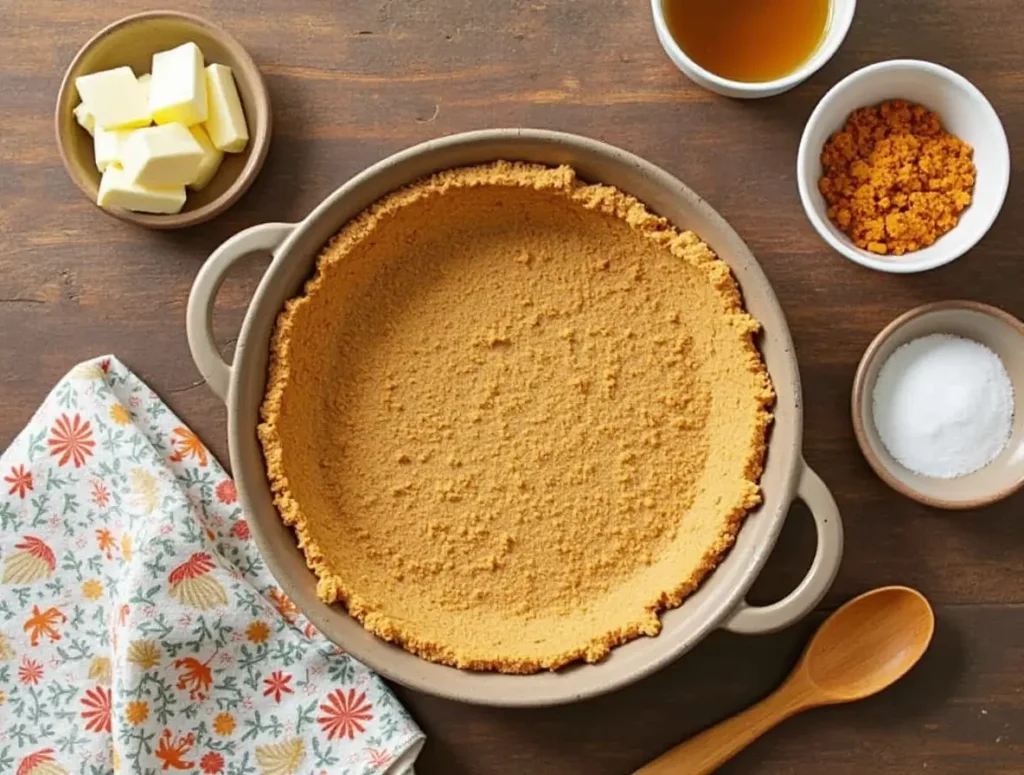
- Combine graham cracker crumbs, melted butter, and a pinch of sugar in a mixing bowl.
- Press the mixture evenly into a 9-inch pie dish, ensuring the crust goes up the sides.
- Bake the crust at 350°F (175°C) for 8-10 minutes until it’s lightly golden. Let it cool while you prepare the filling.
Step 2: Create the Pumpkin Pie Filling
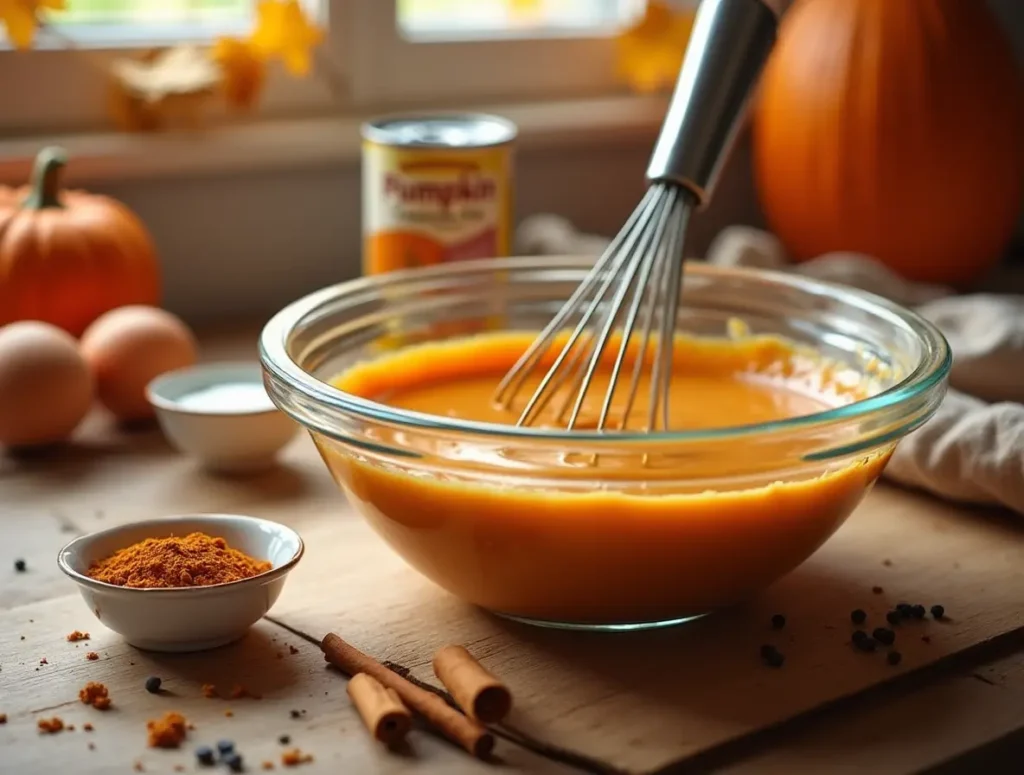
- In a large bowl, whisk together the pumpkin puree, sweetened condensed milk, eggs, and spices.
- Ensure the mixture is smooth and free of lumps to achieve a creamy texture.
Step 3: Assemble and Bake the Pie
- Pour the filling into the pre-baked crust, spreading it out evenly.
- Bake the pie at 350°F (175°C) for 45-50 minutes or until the center is just set. A slight jiggle is fine — it will firm up as it cools.
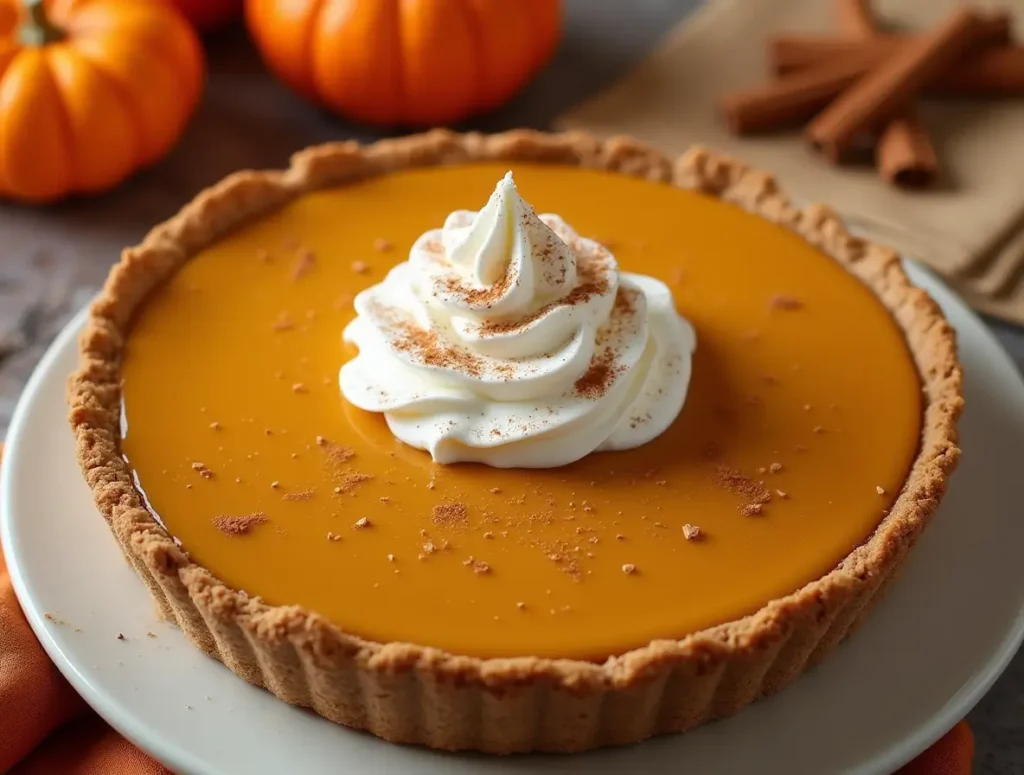
Step 4: Cool and Garnish
- Allow the pie to cool completely before slicing. This step is crucial for achieving clean, beautiful slices.
- Top with whipped cream and a sprinkle of cinnamon for the perfect finishing touch.
Expert Tips for Perfecting Your Milk Bar Pumpkin Pie
- Use Fresh Spices: Freshly ground spices make a world of difference in flavor. Pre-ground spices can lose their potency over time, so consider using a microplane to grate fresh nutmeg or grinding cinnamon sticks for the most vibrant taste.
- Toast Your Graham Cracker Crumbs: For an extra layer of flavor, lightly toast the graham cracker crumbs before mixing them with butter. This enhances the nutty, caramel-like notes of the crust.
- Room Temperature Ingredients: Ensure all your ingredients, especially the eggs and sweetened condensed milk, are at room temperature. This helps the filling mix evenly and bake more consistently.
- Avoid Overmixing the Filling: Overmixing can incorporate too much air, causing cracks in the pie as it bakes. Whisk just until the ingredients are combined and smooth.
- Don’t Overbake: Keep an eye on the pie during baking. Overbaking can lead to a dry filling or a cracked surface. The center should jiggle slightly when you remove it from the oven — it will set as it cools.
- Chill for Best Results: Let the pie cool completely at room temperature, then refrigerate it for at least 4 hours or overnight. Chilling not only improves the texture but also allows the flavors to meld together.
- Customize the Toppings: While whipped cream is a classic choice, you can also add a drizzle of caramel sauce, a sprinkle of candied pecans, or a dusting of powdered sugar for an elegant touch.
- Experiment with Add-ins: For a twist, mix a handful of mini chocolate chips or chopped candied ginger into the filling before baking. These add-ins can provide delightful surprises in every bite.
- Invest in a Pie Shield: To prevent the edges of your crust from overbaking or burning, use a pie shield or cover the edges with foil partway through baking.
- Test for Doneness: Insert a knife or toothpick about 1 inch from the edge; if it comes out clean, the pie is ready. The center may still look slightly wobbly, and that’s okay.
- Presentation Matters: Use a serrated knife to cut clean slices, and wipe the blade with a warm, damp cloth between cuts. This ensures picture-perfect servings every time.
Why Milk Bar Pumpkin Pie Is Perfect for Every Occasion
A Versatile Dessert
This pie isn’t just for Thanksgiving. Its unique flavors make it suitable for any fall gathering, from casual family dinners to elegant parties. The combination of its creamy pumpkin filling and crunchy graham cracker crust ensures it’s a hit with both traditionalists and those looking for something different. Plus, it’s a dessert that feels both nostalgic and modern, appealing to guests of all ages.
Perfect for Potlucks and Celebrations
The Milk Bar Pumpkin Pie is incredibly easy to transport, making it an excellent choice for potlucks, Friendsgiving dinners, or office parties. Its stunning presentation — with its golden crust and perfectly set filling — guarantees it’ll be the centerpiece of any dessert table.
Customizable for Any Occasion
One of the best things about this pie is how versatile it is. Want to make it more festive? Add a sprinkle of holiday-themed toppings like crushed pecans or edible glitter. Hosting a more formal event? Serve it with a dollop of spiced whipped cream and a drizzle of caramel sauce for an elevated touch. No matter the occasion, this pie can be adapted to fit the vibe.
A Crowd-Pleaser Every Time
Its balance of sweet and spiced flavors ensures that even guests who don’t usually enjoy pumpkin pie will fall in love with it. Whether you’re hosting a cozy dinner with friends or a large holiday gathering, you can’t go wrong with this dessert.
Frequently Asked Questions
What makes Milk Bar Pumpkin Pie different from traditional pumpkin pie?
The graham cracker crust and the perfectly spiced, creamy filling set it apart. It’s a modern twist on a classic recipe that combines traditional flavors with a unique texture and presentation.
Can I make this pie ahead of time?
Absolutely! In fact, this pie tastes even better the next day. Make it the night before and let it chill in the refrigerator overnight.
Can I substitute fresh pumpkin for canned puree?
Yes, you can. Simply cook and puree fresh pumpkin before using it in the recipe. Just make sure it’s smooth and free of excess moisture.
What is the best way to store Milk Bar Pumpkin Pie?
Store the pie in an airtight container in the refrigerator for up to three days. For longer storage, you can freeze it for up to a month. Just thaw it in the fridge before serving.
Conclusion
The Milk Bar Pumpkin Pie is a dessert that combines the best of tradition and innovation. With its creamy filling, spiced flavors, and crunchy graham cracker crust, it’s a recipe you’ll return to again and again. Whether you’re making it for a special occasion or just because, this pie is guaranteed to impress. Now it’s your turn to bring the Milk Bar magic into your kitchen. Happy baking!
Try out Milk Bar Pumpkin Pie and let your creativity shine! We’d love to see your sweet creations. Tag us on Instagram at @SweetEatsRecipes and use the hashtag #MilkBarPumpkinPie to get featured.
Milk Bar Pumpkin Pie
Equipment
- 9-inch pie dish
- Mixing bowls
- Whisk
- Measuring Cups and Spoons
- Spoon or spatula (for mixing)
- Oven
- Baking sheet optional, for catching any spills
- Knife (for slicing)
- Cooling rack (for cooling the pie)
Ingredients
- 1/2 cup graham cracker crumbs (finely ground)
- 6 tablespoons unsalted butter (melted)
- 1 cup pumpkin puree (canned or fresh, unsweetened)
- 1 can sweetened condensed milk
- 2 large eggs
- 1 teaspoon ground cinnamon
- 1/2 teaspoon ground ginger
- 1/4 teaspoon nutmeg (optional)
- Whipped cream (for serving)
Instructions
- Prepare the Graham Cracker Crust: Combine graham cracker crumbs, melted butter, and a pinch of sugar. Press into a 9-inch pie dish and bake at 350°F for 8-10 minutes.
- Create the Pumpkin Pie Filling: Whisk together pumpkin puree, condensed milk, eggs, and spices.
- Assemble and Bake the Pie: Pour the filling into the pre-baked crust. Bake at 350°F for 45-50 minutes.
- Cool and Garnish: Allow to cool completely before slicing. Top with whipped cream and a sprinkle of cinnamon.